
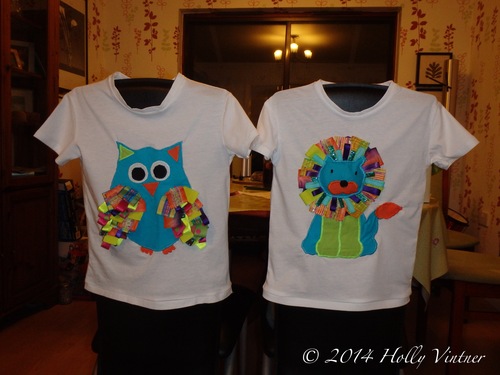
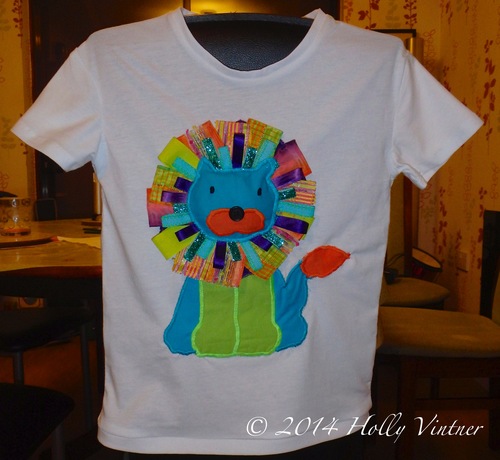
One of my favourite things to make are these colourful, fun children’s t-shirts. I love the use of the ribbons, which bring everything to life. The t-shirts are simple to make and I think are suitable for both boys and girls. This t-shirt is age 4-5, and I made it for a boy. This technique can be used with most animal designs.
Making the T-shirt
I had previously made the t-shirt block in this size, so I only had to cut the pieces out of white jersey, the pattern pieces included: front, back, 2 sleeves and the edging for the neck and hem. After this I made my lion pattern pieces, I did this by cutting up an image of a lion, tracing around this onto paper and adding seam allowance (1cm) all the way around. I then used these templates to cut the lion out of brightly coloured cotton. I also cut a variety of lengths of coloured ribbon to go around the mane.
I had previously made the t-shirt block in this size, so I only had to cut the pieces out of white jersey, the pattern pieces included: front, back, 2 sleeves and the edging for the neck and hem. After this I made my lion pattern pieces, I did this by cutting up an image of a lion, tracing around this onto paper and adding seam allowance (1cm) all the way around. I then used these templates to cut the lion out of brightly coloured cotton. I also cut a variety of lengths of coloured ribbon to go around the mane.
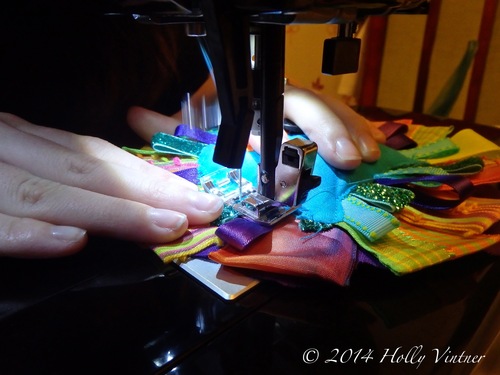
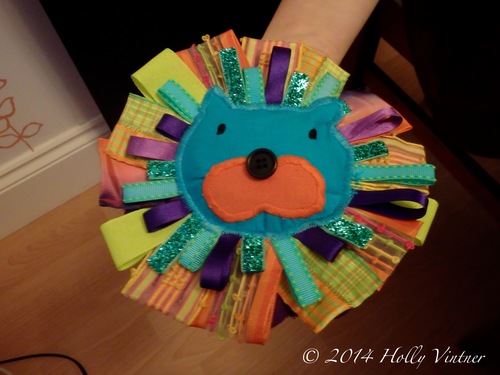
Sewing the lion was reasonably simple I started with the mane pattern piece, I folded the ribbon strips in half and sewed each one individually onto the mane, making sure the stitching was going to be underneath the lions face. I filled the entire mane with ribbons starting at the outside with longer ribbons and working my way in to shorter ribbon pieces. I then sewed the eyes, mouth and nose (a black button) onto the face of the lion. This was then sewed on top of the mane, I sew using a tight zig-zag stitch - this keeps it secure and stops the fabric fraying. I left a small hole when sewing the face on, which I used to push stuffing into. This padded it out; I then sewed the small hole up.
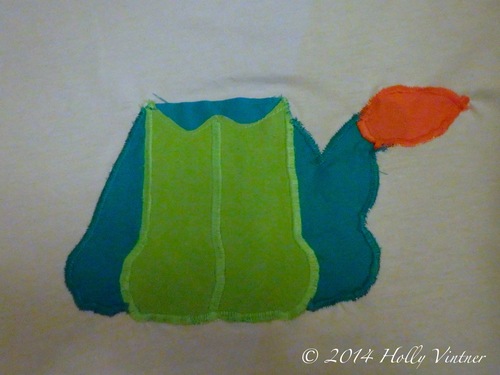
Next I sewed all of the body parts together, the legs and tail onto the body – make sure you pin these together to make stitching easier. The body was then stitched onto the t-shirt front first. Again you must pin the body down before sewing, this keeps the stitching neat and stops the t-shirt stretching too much. Once I had sewn all the way around the body, I needed to attach the head and mane. I did this by sewing the edge of the mane pattern piece to the t-shirt.
Now that the design is finished, it leaves the t-shirt to be sewn together – you must sew the shoulder seams together first (and overlock), next sew in the sleeves (and overlock) and then the side seams (and overlock) – going from the edge of the sleeve to the hem. Now the t-shirt is together, I hemmed the sleeves with a double hem. Then I sewed on the jersey edging to the neck and hem – I think that this is a neater and easier way of hemming the edges!


 RSS Feed
